


What is ExpressJS?
Express.js is a popular and widely used Node.js framework that simplifies the process of building web applications and APIs.
It is a backend web application framework for building RESTful APIs with Node.js
- It provides an awesome set of features and tools for creating server-side web applications, including routing, middleware, and much more.
- With its
simple syntax,minimalistic design, andeasy-to-use API, Express.js has become the preferred choice for developers who want to build fast, scalable, and maintainable web applications using Node.js.
Steps to create an Express App:
If you're new to Express, getting started can be a bit difficult. But, with the right guidance and a little patience, you can quickly build your first Express app.
Here's how to get started with an Express app in simple and easy-to-understand terms:
Step 1: Install Node.js
Before you can start using Express, you'll need to have NodeJS installed in your system. You can download the latest version of NodeJS from the official website
NodeJS Website
Step 2: Create a new project
Once NodeJS is installed in the system, we need to create a new project folder for your Express app. To do so, open the terminal or command prompt and navigate to the directory/folder where you want to create your project folder. Then, use the following command to create a new folder:
mkdir new-express-projectThis will create a new folder with the name
new-express-projectinside the navigated directory/folder. And this folder will contain:- files and directories including the main entry point for the app (the file from which the execution of our app will begin).
- dependencies installed by npm (external packages installed by us to make the application building easier).
- and other files such as configuration files and documentation (
Readme.mdfile,.gitignorefile & other config files).
Then, navigate to the folder using the following command:
cd new-express-projectThis will open our project folder as the current working directory.
Step 3: Initialize the project
To initialize the project, run the following command:
npm initIn order to use Node.js modules in the project, we need to create a
package.jsonfile. This file contains information about the project, including its dependencies.The above command will create a
package.jsonfile in the project folder.This command will prompt you to answer a series of questions about your project like:
- package-name: (new-express-project)
- version: (1.0.0)
- description:
- entry point: (index.js)
- test command:
- git repository:
- keywords:
- author:
- license: (ISC)
You can simply press enter to accept the default values for most of these questions or you can add your own custom details.
After adding the details, you will get a prompt
Is this OK?Press enter to accept it.And then the initialization of the project is done. After that, you can enter the project folder and have a look at the
package.jsonfile.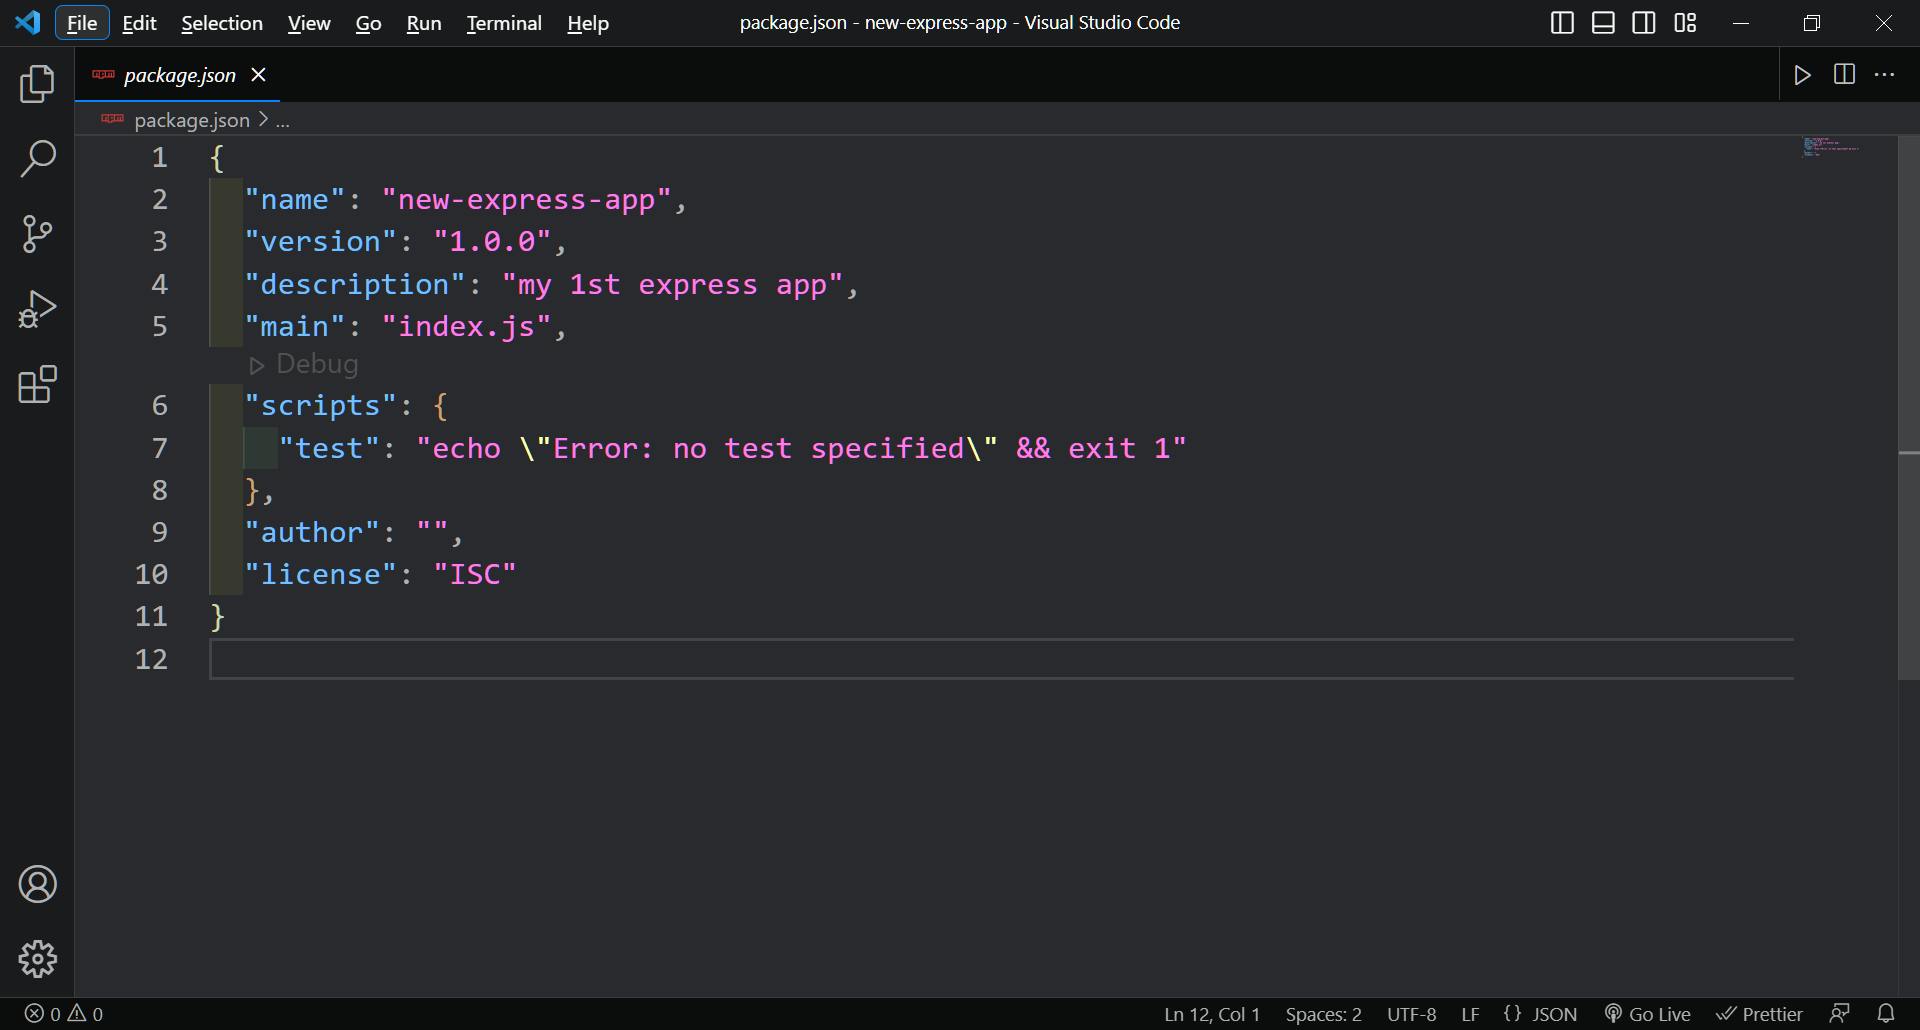
The above image is basically how a
package.jsonfile will look with the default values.
Step 4: Install Express
Now that we have a
package.jsonfile, we can install Express as a dependency for the project. To do this, run the following command:npm install expressThis command will download the latest version of Express and save it as a dependency in the
package.jsonfile.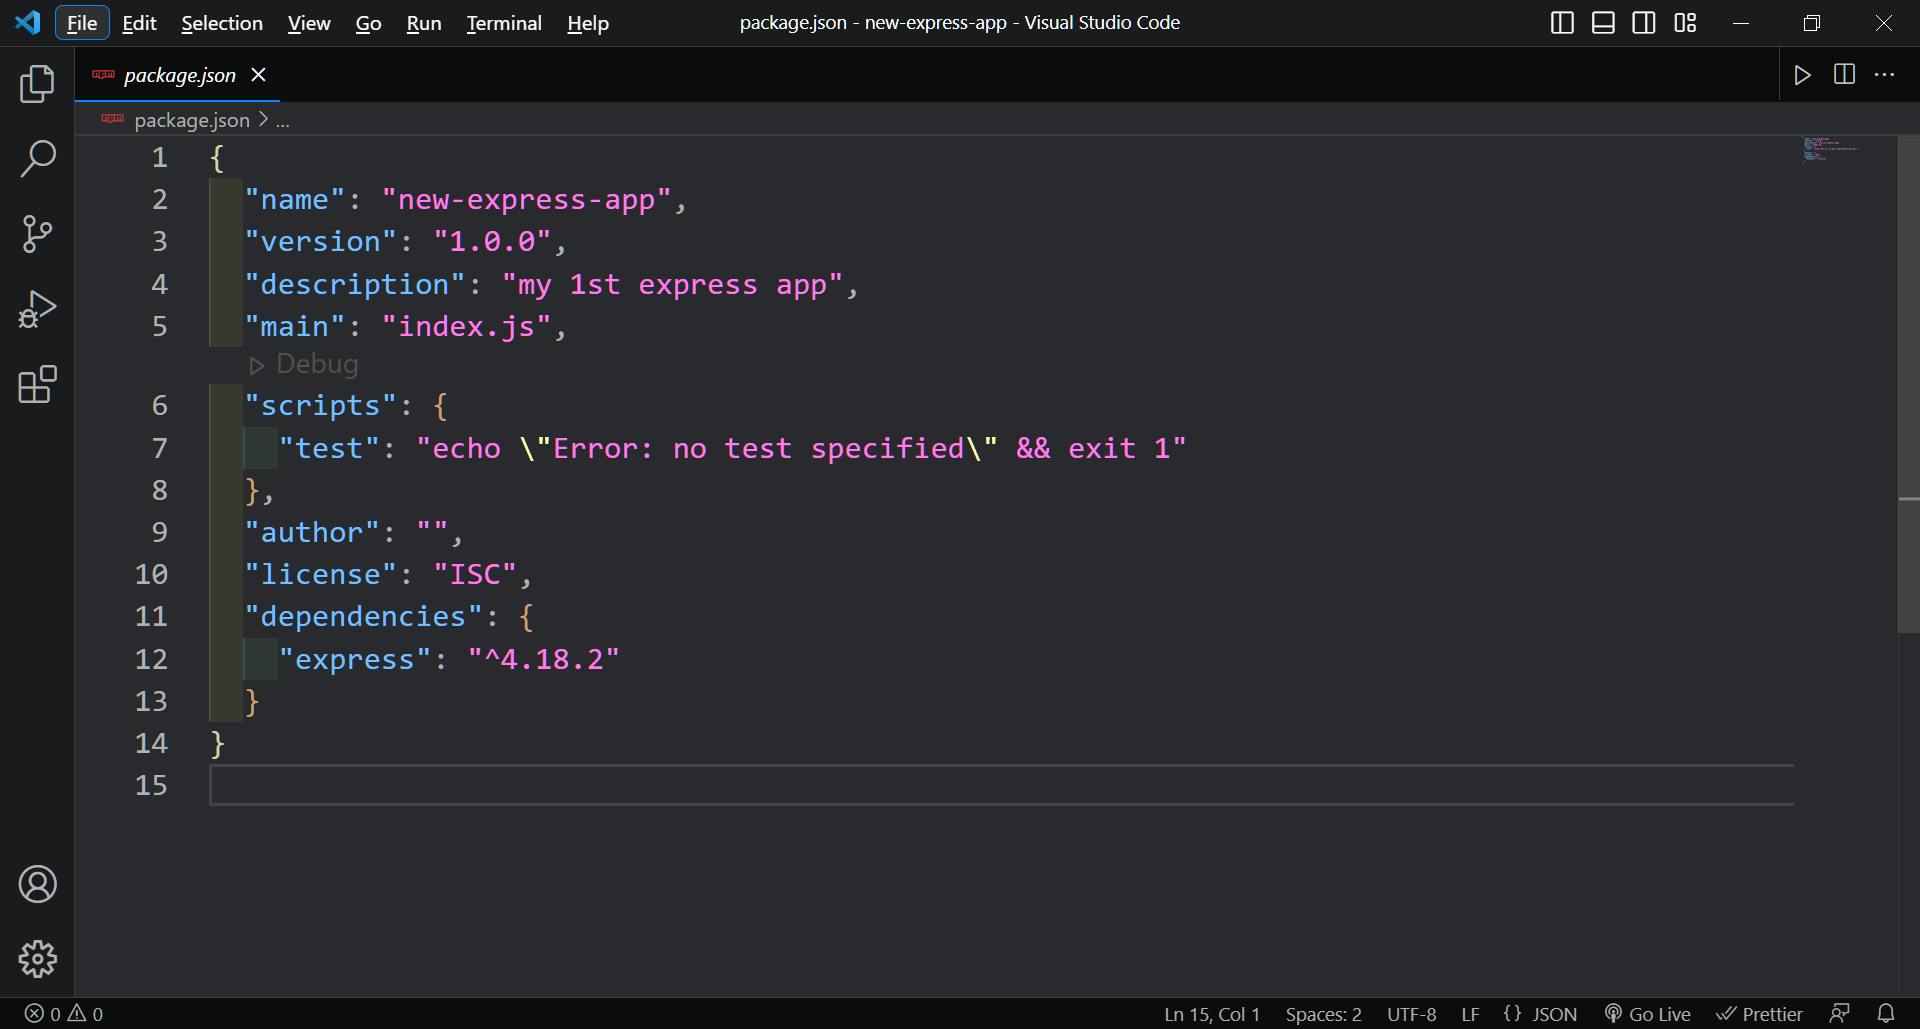
The above image is how the
package.jsonfile will look after installing express.
Step 5: Create our first Express app
With Express installed, we can now create our first Express App. To do this, create a new file called
index.jsin your project folder. This file will contain the code for the Express app.As
index.jsis the entry point for our web application, the execution of the code starts fromindex.jsonly.In the
index.jsfile, we need to add the code by following 5 steps:Step (a): Bring Express:
To bring Express into the application, add the following code in the 1st line of
index.jsfile:const express = require("express");The first line of code creates a constant variable called
expressand assigns it the value of theexpressmodule, which is a dependency we installed using NPM in our project. This module provides the necessary tools and functions to create an Express app.
Step (b): Assign Express to App:
To assign
expresstoappvariable, write the following code just after the previous line of code:const app = express();After bringing
expressinto our application, we need to assign it toappvariable so that we can create a new instance of an Express application, which is thus used to handle HTTP requests.The second line of code creates a constant variable called
appand assigns it the value ofexpress(). This creates a new instance of an Express application, which we can use to handle HTTP requests.
Step (c): Create PORT:
To create a
PORT, add the following line of code just after the previous 2 lines of code:const PORT = 3000;The third line of code is used to define the port number on which the server will listen for incoming requests.
Here, the port number is set to
3000. This means that when the application is started, it will be available athttp://localhost:3000/.NOTE: It's important to ensure that the port number you choose is not already in use by another process, otherwise, the server will not be able to start listening for incoming requests.
Step (d): Create Routes:
Now,
routesare theurlthat the user will write in their browser's address bar to request some info from the server. And the server on the basis of theroutewill give certain info as the response.Here, I will create some basic routes wrt some social media platforms, and whenever the user searches those
urlin the browser, he/she will get certain data.app.get("/", (req, res) => { res.send("Hello World!"); }); app.get("/instagram", (req, res) => { res.status(200).json({ username: "yash.pundhir.prof", followers: 58, follows: 69, }); }); app.get("/facebook", (req, res) => { res.status(200).json({ username: "Yash Pundhir", followers: 100, follows: 300, }); }); app.get("/linkedin", (req, res) => { res.status(200).json({ username: "Yash Pundhir", followers: 10, follows: 60, }); });In an Express application, the
app.get()method is used to create a route that handles HTTP GET requests for a specific URL path. In the above code, there is one home route that gives hello world message whenever user visitshttp://localhost:3000/There are three other routes defined:
app.get("/instagram", (req, res) => {...}): This route is triggered when a GET request is made to the/instagrampath. The route sends back a JSON response containing information about an Instagram profile with the username "yash.pundhir.prof", including the number of followers and follows.app.get("/facebook", (req, res) => {...}): This route is triggered when a GET request is made to the/facebookpath. The route sends back a JSON response containing information about a Facebook profile with the name "Yash Pundhir", including the number of followers and follows.app.get("/linkedin", (req, res) => {...}): This route is triggered when a GET request is made to the/linkedinpath. The route sends back a JSON response containing information about a LinkedIn profile with the name "Yash Pundhir", including the number of followers and follows.
In each route, the
res.status(200).json({...})method is used to set the HTTP status code to200(indicating that the request was successful) and send a JSON response containing the information about the respective social media profile. Thereqandresparameters are built-in objects that represent the HTTP request and response, respectively.
Step (e): Listen to the PORT:
To listen to the PORT, add the following line of code:
app.listen(PORT, () => {
    console.log("Server started on port 3000");
});
This line of code sets up a listener on port 3000 using the
listen()method.This method takes two parameters: the first is the port number to listen on, and the second is a callback function that runs when the server is started.
In this case, the callback function simply logs a message to the console to let us know that the server has started.
Step 6: Start the Server
To start the server, we 1st need to make some changes to our
package.jsonfile.In
package.jsonfile, under the scripts key, do the following changes:{ "scripts": { "start": "node index.js", "dev": "nodemon index.js" } }To run our app, there are 2 ways:
we can use the following command:
npm startThis command is used to start the server and run the application.
When we run this command in the terminal, it executes the
index.jsfile using the Node.js runtime environment.But, with this approach, whenever we try to make some changes in our app, we need to restart our server. This sometimes becomes very irritating.
To avoid this, use the 2nd approach.
In this approach, we install a package
nodemon(Brother of Pokemon) as a dev dependency to our app.So, whenever we make some changes to our app,
nodemondetects those changes and restarts the server automatically.To install
nodemonrun the following command in terminal:npm install nodemon -DThe above command will install
nodemonas a dev dependency to our express app.Then we can use
nodemonto run our app using the following command:npm run dev
Step 7: Run our app on the browser
To run our app, open the web browser and navigate to
http://localhost:3000/. You should see a page that says "Hello World!".Other than the Homepage Route, the user can navigate to:
http://localhost:3000/instagram: This Route will show the JSON data wrtInstagram.http://localhost:3000/twitter: This Route will show the JSON data wrtTwitter.http://localhost:3000/linkedin: This Route will show the JSON data wrtLinkedIn.
NOTE: The above steps, will run app on localhost only. If you want to run it on production, use the below link to get familiar with production hosting.
These platforms provide free hosting.
Conclusion:
Express.js is a powerful and flexible framework for building web applications with NodeJS.
In this blog, we covered the basics of getting started with Express.js, including:
setting up a new project
creating a simple server
defining routes
and returning JSON responses
To recap:
you can create an Express.js app by installing the framework using NPM
setting up a basic server with a port number
defining routes for handling incoming requests
and listen to all the incoming requests at the specified PORT.
Don't forget to share this blog with your friends and colleagues who are interested in learning more about web development with NodeJS and ExpressJS!